
 I taught two one-day classes this year. The first was Block Making. Everyone made a least one hat block and then blocked a parisisal hood over their new block. Above, Ann and Rebecca are hard at work on their projects.
 Clair and Abby begin the blocking process. Abby attended the Kentucky Derby for the first time this year and came away wanting to know more about hatmaking. Here she begins free-forming on a hatblock.
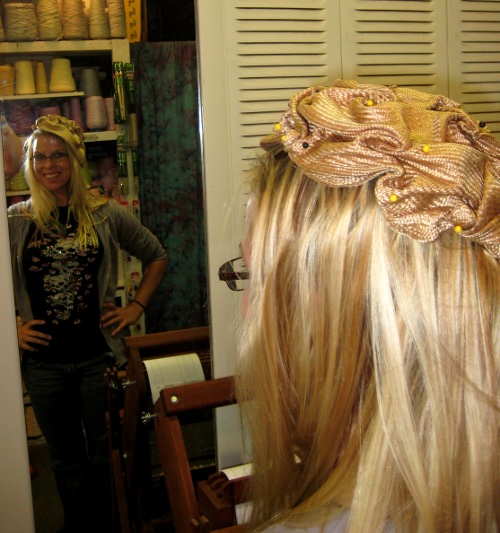 And here is her hat just as it was coming off the block. She was thrilled with the result! A few embellishments and she'll be ready for the Derby next year!
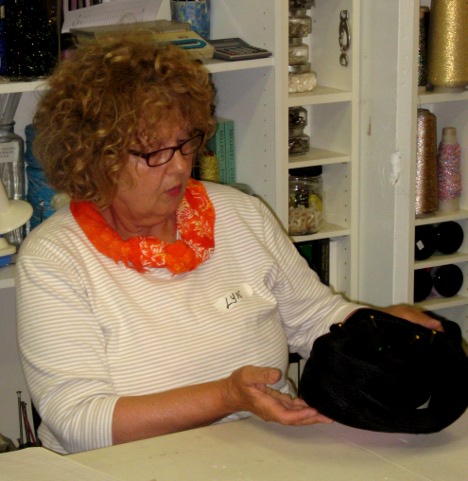 Lyn made a very simple but elegant block. Here she is blocking her black parisisal hood over it.
 The next day I taught Fascinating Fascinators. One of the first things I asked the group was, "What IS a fascinator?" Of course, there is no definitive answer to that as they can take many forms. And that was my point. They can pretty much be anything you want them to be. They take no specific form! Go for it!
I demonstrated numerous skills that could be used in making fascinators: feather-work, sewn braid, free-form sinamay, fabric covered buckram, along with how to attach elements to combs, hairbands, hat elastics, clips, etc.
 This photo, and the one above it, are of feather mounts created by Betty. She will probably use these on her fabulous felt hats since that is really her forte. Love the color combination!
 Close-up of the fascinator base Betty created with a very dark navy braid. Nice!
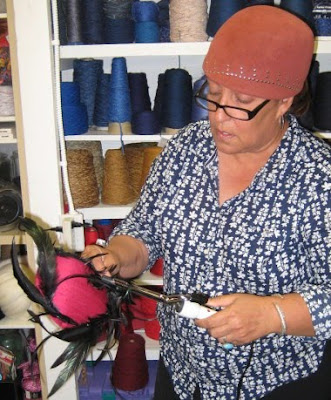 Rebecca starts the final process of curling feathers on her silk covered buckram base. She created the feather mount from coq and biot feathers using the technique she learned in class.
 The final product! She used an orphaned rhinestone earring as the focal point and a base for the feather mount.
 Betty models Rebecca's hat.
 Rebecca does the HAPPY DANCE she is so thrilled with her hat! And I agree!
 Great job, Chicago class!!


